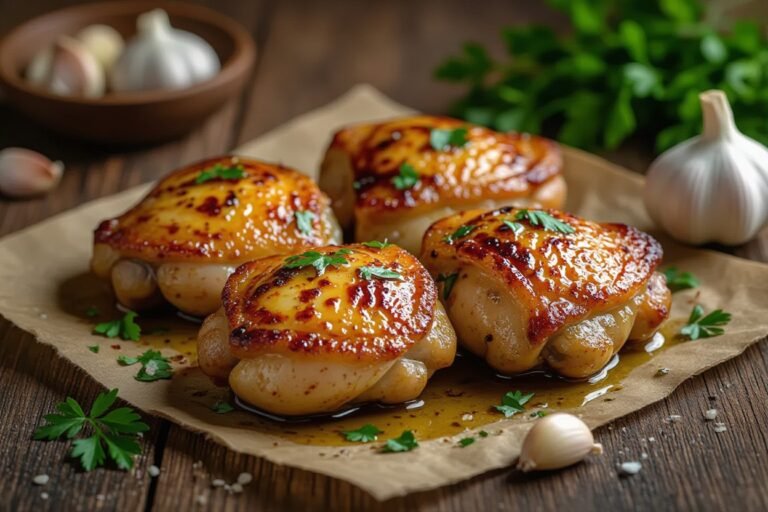
Crispy Oven-Baked Chicken Wings
Chicken wings don’t need a deep fryer to achieve that perfect golden crunch you crave. When you bake wings in your oven using the right technique, you’ll get crispy skin and juicy meat without the mess and excess oil of traditional frying. The secret lies in proper preparation, optimal temperature control, and strategic positioning on your baking sheet. Whether you’re hosting game day, planning a family dinner, or simply satisfying your wing craving, this oven-baked method delivers restaurant-quality results in your own kitchen. You’ll discover that achieving that satisfying crunch is easier than you think.
Key Takeaways:
- Baking powder (not baking soda) is the secret to achieving restaurant-quality crispy skin without deep frying
- Pat the wings completely dry and let them air-dry in the refrigerator for best results, as moisture prevents crispiness
- Bake at high heat (400-425°F) and use a wire rack over a baking sheet to allow hot air circulation around all sides of the wings
Ingredients
Essential Ingredients
You’ll need just a handful of basic ingredients to create perfectly crispy wings at home. Start with 2 to 3 pounds of chicken wings, which typically serves 4 people as an appetizer or 2 as a main course. You can purchase whole wings and separate them yourself at the joints, or buy pre-cut drumettes and flats to save time. For the dry coating that creates that signature crunch, grab 2 tablespoons of baking powder—not baking soda—along with 1 to 1.5 teaspoons of salt. The baking powder raises the pH level of the chicken skin, breaking down proteins and allowing moisture to escape more efficiently during cooking, which results in that coveted crispy texture.
Beyond the wings themselves, you’ll want 1 tablespoon of neutral oil like vegetable or avocado oil to help the seasoning adhere and promote even browning. Black pepper adds a subtle kick—about 1 teaspoon of freshly ground pepper works well. If you’re planning to toss your wings in sauce after baking, have 1/2 to 3/4 cup of your chosen sauce ready. The beauty of this recipe lies in its simplicity; these few ingredients work together to transform ordinary wings into restaurant-quality results without deep frying or complicated techniques.
Optional Add-Ins
Your spice cabinet offers endless possibilities for customizing the flavor profile of your wings before they hit the oven. Garlic powder and onion powder, about 1 teaspoon each, add savory depth without overwhelming the chicken’s natural taste. Smoked paprika brings a subtle smokiness and rich color—try 1 to 2 teaspoons for noticeable impact. For heat lovers, cayenne pepper or red pepper flakes deliver a fiery punch; start with 1/2 teaspoon and adjust according to your tolerance. Dried herbs like oregano, thyme, or rosemary at 1 teaspoon each can transform your wings into an Italian-inspired dish.
Asian-inspired seasonings work exceptionally well with this cooking method. Mix in 1 teaspoon of five-spice powder for a complex, aromatic profile, or add 1 tablespoon of sesame seeds during the last 10 minutes of baking for nutty crunch. Ranch seasoning mix, lemon pepper, or Cajun spice blends—about 2 tablespoons of any pre-made blend—can completely change your wings’ character while maintaining that crispy exterior.
The key to successful seasoning lies in adding these extras to your baking powder mixture before coating the wings. This ensures even distribution and allows the flavors to penetrate the skin during the cooking process. You can also split your batch and season half with one combination and half with another, giving you variety without extra work.
Preparation
The way you handle your wings before they hit the oven makes all the difference between soggy disappointments and restaurant-quality results. Pat your wings completely dry with paper towels, paying special attention to any crevices where moisture likes to hide. Moisture is the enemy of crispy skin, so take an extra minute to ensure each wing feels dry to the touch. If you have time, arrange your wings on a wire rack set over a baking sheet and refrigerate them uncovered for 1 to 4 hours. This air-drying technique allows the skin to dehydrate slightly, which creates an even crispier exterior when baked.
Your seasoning strategy should complement the natural flavor of the chicken without overwhelming it. A simple combination of baking powder, salt, and your choice of spices creates a flavorful coating that also promotes browning. The baking powder—make sure it’s aluminum-free to avoid any metallic taste—raises the pH of the skin, allowing it to brown faster and develop more texture. Mix 1 tablespoon of baking powder with 1 teaspoon of salt per pound of wings, then add garlic powder, paprika, black pepper, or any dry seasonings you prefer.
Cleaning and Drying
Remove your wings from their packaging and place them in a colander to drain any excess liquid. Rinse them briefly under cold water if needed, though this step isn’t always necessary with quality poultry. The real work begins with the drying process—use several layers of paper towels and press firmly against each wing, absorbing every drop of surface moisture. You’ll likely go through 4 to 6 paper towels for a full batch of wings, and that’s perfectly normal.
For those who plan ahead, the refrigerator drying method yields exceptional results. Arrange your dried wings in a single layer on a wire rack, leaving space between each piece for air circulation. The cold, dry environment of your refrigerator pulls moisture from the skin’s surface over several hours. This technique, borrowed from professional kitchens, creates a slightly leathery texture on the raw skin that transforms into an incredibly crispy coating during baking. Even 30 minutes of uncovered refrigeration helps if you’re short on time.
Seasoning Techniques
Start with your dry ingredients in a large bowl, whisking together the baking powder, salt, and spices until evenly distributed. Add your thoroughly dried wings to the bowl and toss them vigorously, ensuring every surface gets coated with the seasoning mixture. Your hands work best for this job—grab handfuls of wings and rub the seasoning into the skin, getting into the joints and under any flaps. The coating should look fairly uniform, though it doesn’t need to be perfectly even since some areas will naturally hold more seasoning than others.
Some cooks prefer to add a tablespoon of neutral oil to help the seasonings adhere better and promote additional browning. Drizzle the oil over your seasoned wings and toss again, distributing it evenly without making the wings greasy. The oil creates tiny pockets where the heat concentrates during baking, leading to more blistered, crispy spots on the finished wings. You can also experiment with different seasoning applications—try a light dusting of cornstarch mixed with your spices for an extra-crunchy texture, or apply your seasonings in layers, adding more halfway through the cooking process.
Timing matters when you season your wings. Apply your dry rub immediately before baking rather than letting seasoned wings sit for extended periods. Salt draws moisture to the surface, which can undo all your careful drying work. If you’ve used the refrigerator drying method, pull your wings out, let them sit at room temperature for 15 minutes, then apply your seasonings just before they go into the preheated oven.
Baking Method
The right baking technique transforms ordinary wings into restaurant-quality appetizers with minimal effort. You’ll want to arrange your prepared wings in a single layer on your baking sheet, ensuring each piece has enough space around it for hot air to circulate freely. Overcrowding leads to steaming rather than crisping, so use two baking sheets if necessary. Position the wings skin-side up on a wire rack set over the baking sheet—this allows heat to reach all surfaces and lets excess fat drip away during cooking.
Flipping your wings halfway through the cooking time ensures even browning on both sides. The first side develops a foundation of crispiness, while the second side finishes with that signature golden color. Many home cooks skip this step and wonder why their wings turn out unevenly cooked. You’ll notice the skin starting to bubble and tighten after the first 20 minutes, which signals the rendering of fat beneath the surface.
Preheating the Oven
Your oven needs a full 15-20 minutes to reach the target temperature of 425°F before the wings go in. This preheating window allows the oven walls, racks, and air inside to stabilize at the correct heat level. Skipping this step or cutting it short means your wings start cooking in a cooler environment, which extends the total cooking time and produces soggy, pale skin instead of the crispy texture you’re after.
Place your oven rack in the upper-middle position during preheating. This positioning puts your wings about 6-8 inches from the top heating element, close enough to benefit from direct radiant heat without risking burnt spots. Some ovens run hotter or cooler than their displays indicate, so investing in an oven thermometer gives you accurate readings and eliminates guesswork from your cooking process.
Cooking Times and Temperatures
Standard Baking Guidelines
| Temperature | Total Time |
| 425°F (standard method) | 40-45 minutes |
| 400°F (slower crisp) | 50-55 minutes |
| 450°F (quick crisp) | 35-40 minutes |
The 425°F temperature strikes the perfect balance between rendering fat and crisping skin without drying out the meat inside. Your wings need this moderate-high heat to achieve that satisfying crunch while staying juicy at the bone. Check for doneness by cutting into the thickest part of a drumette—the meat should be opaque white with no pink remaining, and the internal temperature should register 165°F on an instant-read thermometer.
Flip Schedule
| Action | Timing |
| First side baking | 20-22 minutes |
| Flip wings over | At 20-minute mark |
| Second side baking | 20-23 minutes |
| Optional broil for extra crisp | 2-3 minutes |
Tips for Crispiness
The secret to achieving restaurant-quality crispy wings lies in understanding how moisture affects your results. You need to dry your wings thoroughly with paper towels before seasoning them, as any surface moisture will create steam during baking and prevent that coveted crispy texture. Pat each wing individually, paying special attention to the crevices where water tends to pool. For even better results, place your dried wings uncovered on a plate in the refrigerator for 1-2 hours or overnight. This technique, borrowed from professional kitchens, allows the skin to dry out further and helps render more fat during cooking.
Temperature control makes the difference between soggy and crispy wings every time. You should preheat your oven to 425°F, which provides enough heat to render the fat and crisp the skin without burning. Some recipes call for starting at a lower temperature and finishing high, but maintaining a consistent 425°F throughout the 40-45 minute cooking time produces reliably crispy results. Here are the key factors that affect crispiness:
- Thoroughly dried skin before seasoning
- Proper spacing between wings for air circulation
- High enough oven temperature (400-450°F)
- Flipping wings halfway through cooking
- Using baking powder in your seasoning mix
After following these steps, you’ll notice your wings develop a deep golden-brown color and an audibly crispy exterior.
Baking Rack vs. Baking Sheet
Placing your wings on a wire rack set over a baking sheet elevates them above any rendered fat and allows hot air to circulate around the entire surface. This setup mimics the effect of frying by exposing all sides of the wing to consistent heat. The fat drips down onto the sheet below, preventing the wings from sitting in grease and becoming soggy on the bottom. You’ll find that wings cooked on a rack develop an even crispiness that’s nearly impossible to achieve when they rest directly on a pan.
Baking directly on a sheet pan can still work if you don’t have a rack available. Line your sheet with parchment paper or aluminum foil, arrange the wings in a single layer without touching, and flip them every 15 minutes during cooking. This method requires more attention and produces slightly less crispy results on the bottom side, but you can compensate by finishing the wings under the broiler for 2-3 minutes. The rack method consistently outperforms direct baking, delivering wings that are crispy on all sides without the extra flipping and monitoring.
Using Baking Powder
Baking powder transforms the texture of chicken skin by raising its pH level and breaking down proteins more quickly during cooking. You should use aluminum-free baking powder mixed with your seasonings at a ratio of about 1 tablespoon per 2 pounds of wings. This ingredient draws moisture to the surface where it evaporates rapidly in the hot oven, leaving behind a dry, crispy coating. The alkaline environment created by baking powder also promotes better browning through the Maillard reaction, giving your wings that appetizing golden color.
The technique works because baking powder creates tiny bubbles on the skin’s surface as it heats up. These bubbles increase the surface area and create more opportunities for crispiness to develop. You’ll notice the skin takes on a slightly bumpy texture that shatters when you bite into it, similar to the crackling on a perfectly roasted pork belly. Don’t confuse baking powder with baking soda—the latter is much stronger and can leave a metallic taste if you use too much.
Mix your baking powder with salt and any dried spices you’re using, then toss the dried wings in this mixture until evenly coated. The powder needs direct contact with the skin to work its magic, so apply it after you’ve patted the wings completely dry. Some cooks worry about a chemical taste, but when used in the correct proportions, baking powder is completely undetectable in the final product and only contributes to texture.
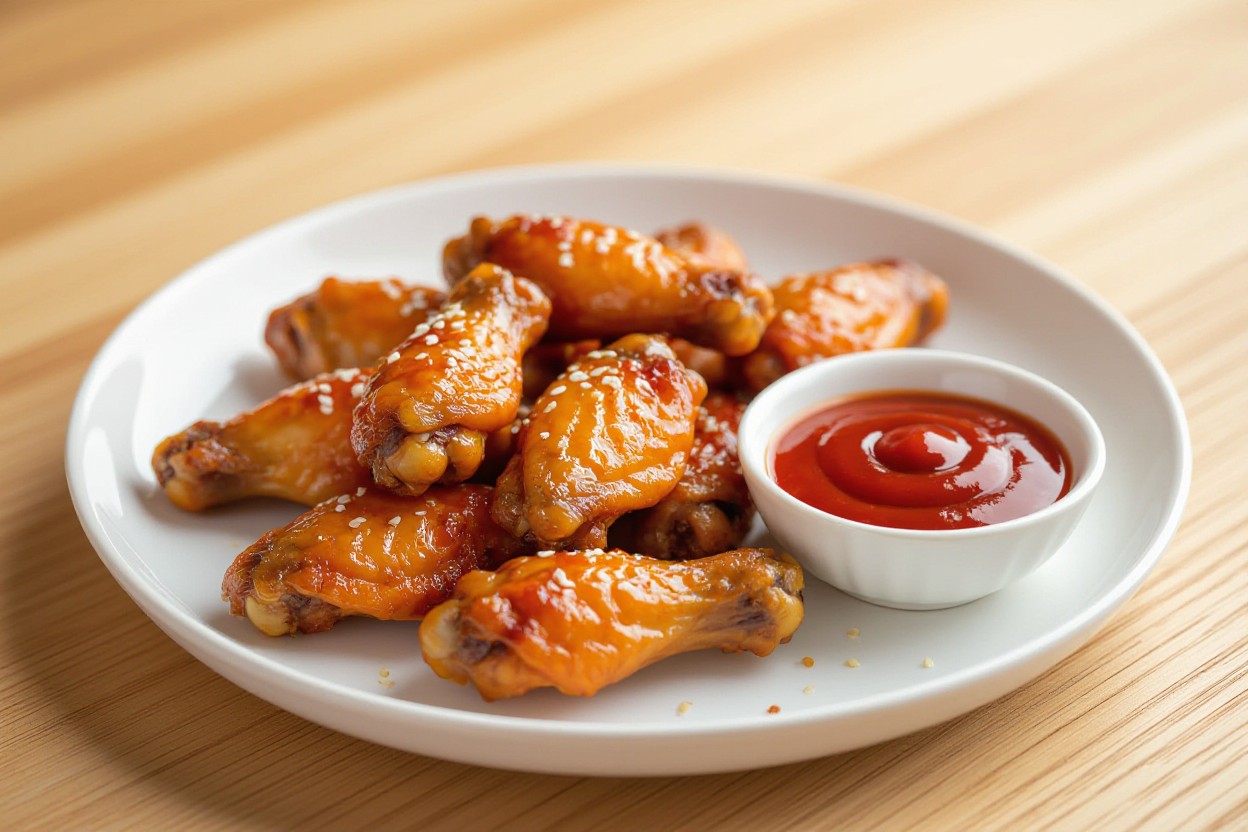
Sauce Options
Your perfectly crispy wings serve as a blank canvas for an endless variety of flavor combinations. The key to successful wing saucing lies in timing—toss your wings in sauce immediately after they come out of the oven while they’re still piping hot. This allows the sauce to adhere properly and creates that glossy, finger-licking coating you’re after. For best results, use about ½ cup of sauce per pound of wings, adjusting based on how heavily coated you prefer them.
The beauty of homemade wings is that you control the heat level, sweetness, and flavor profile completely. Whether you stick with traditional buffalo or venture into more adventurous territory, always toss your wings in a large bowl rather than pouring sauce over them on a platter. This ensures even distribution and prevents your crispy skin from getting soggy in pools of excess sauce.
Classic Buffalo Sauce
The original buffalo sauce requires just three ingredients: melted butter, hot sauce (preferably Frank’s RedHot), and a splash of white vinegar. Mix ½ cup of hot sauce with 4 tablespoons of melted butter and 1 teaspoon of vinegar for every 2 pounds of wings. The butter mellows the heat while adding richness, and the vinegar cuts through the fat with a sharp tang that keeps you reaching for another wing.
You can adjust the heat intensity by changing your hot sauce ratio. For mild buffalo wings, increase the butter to a 1:1 ratio with the hot sauce. If you prefer extra spicy wings, add cayenne pepper or use a hotter sauce like Tabasco or Louisiana-style hot sauce. Some cooks add a teaspoon of Worcestershire sauce or a pinch of garlic powder to deepen the flavor complexity, though purists argue that the three-ingredient version can’t be improved upon.
Alternative Sauces
Asian-inspired sauces have become incredibly popular alternatives to traditional buffalo. A honey-soy glaze combines ⅓ cup honey, ¼ cup soy sauce, 2 tablespoons rice vinegar, and 1 tablespoon of grated fresh ginger for a sweet-savory profile that caramelizes beautifully on hot wings. Korean gochujang sauce offers another dimension entirely—mix 3 tablespoons gochujang paste with 2 tablespoons honey, 1 tablespoon sesame oil, and 2 minced garlic cloves for a spicy, umami-rich coating that’s become a game day favorite.
Barbecue sauces work exceptionally well on oven-baked wings, especially when you add them during the last 5 minutes of cooking to let them caramelize slightly. Your favorite bottled BBQ sauce works fine, but homemade versions let you control the sweetness and smoke levels. Dry rubs offer yet another option—toss your hot wings in a mixture of smoked paprika, brown sugar, garlic powder, and black pepper for Memphis-style dry wings that showcase the crispy skin without any wet sauce at all.
Garlic parmesan wings have earned their place as a top-tier alternative, combining ¼ cup melted butter with 4 minced garlic cloves and ½ cup freshly grated parmesan cheese. Teriyaki wings bring a Japanese twist with a sauce of ½ cup soy sauce, ¼ cup mirin, 2 tablespoons brown sugar, and fresh grated ginger. For something completely different, try a Nashville hot coating using cayenne-infused oil mixed with brown sugar and paprika, or go tropical with a mango habanero sauce that balances fruit sweetness against serious heat.
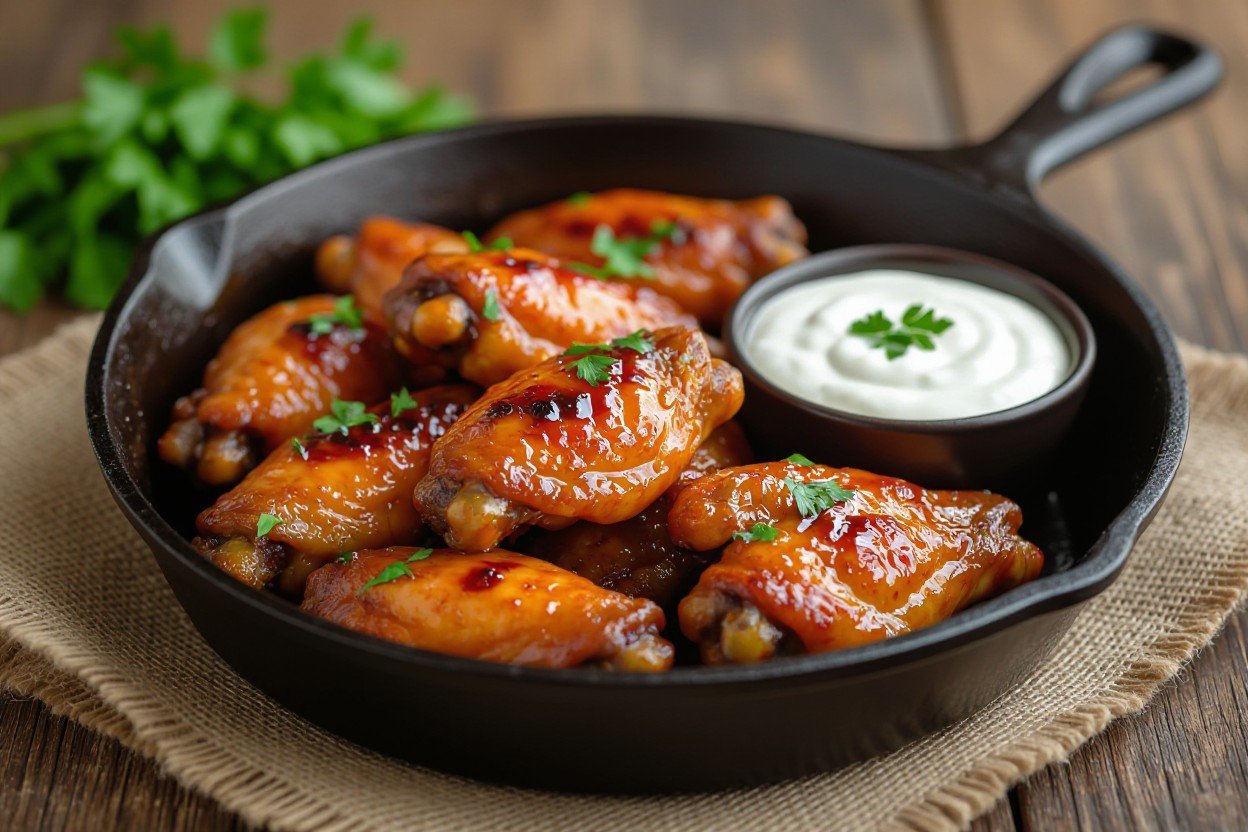
Serving Suggestions
Your perfectly crispy wings deserve accompaniments that complement their bold flavors without overshadowing them. Classic celery and carrot sticks provide a refreshing crunch that cuts through the richness of the wings, while ranch or blue cheese dressing offers cooling contrast to spicy buffalo-style preparations. For a more substantial spread, consider adding crispy french fries, onion rings, or loaded potato skins to transform your wings into a complete meal. Coleslaw brings a tangy, creamy element that pairs exceptionally well with dry-rubbed or barbecue wings.
The beverage you choose can elevate your wing experience significantly. Cold beer remains the traditional pairing, with lighter lagers and IPAs standing up well to spicy flavors, while wheat beers complement sweeter glazes like honey garlic or teriyaki. For non-alcoholic options, lemonade or iced tea provides the acidity needed to balance fatty, savory flavors. You might also serve pickles, jalapeño poppers, or mozzarella sticks alongside your wings for variety in texture and taste.
Accompaniments
Traditional dipping sauces form the foundation of any great wing platter. Blue cheese dressing, made with quality Gorgonzola or Roquefort, delivers sharp, tangy notes that have been the gold standard since Buffalo wings first appeared at the Anchor Bar in 1964. Ranch dressing offers a milder alternative that appeals to those who prefer less assertive flavors. Beyond these classics, honey mustard, garlic aioli, or sriracha mayo add contemporary twists that work beautifully with different wing seasonings.
Side dishes should balance the richness of your wings while adding textural variety to your plate. Mac and cheese brings comfort food appeal, while a crisp garden salad with vinaigrette provides a lighter counterpoint. Cornbread muffins or garlic bread give you something to soak up extra sauce, and roasted vegetables like Brussels sprouts or asparagus add a sophisticated touch to your spread. For game day gatherings, consider setting up a wing bar with three to four sauce options and multiple sides, allowing guests to customize their plates.
Presentation Ideas
Arrange your wings on a large wooden cutting board or slate platter for rustic appeal that photographs beautifully for social media. Layer them in a single row rather than piling them high, which prevents the bottom wings from losing their hard-earned crispiness. Garnish with fresh herbs like parsley or cilantro, and add lemon or lime wedges around the perimeter for both visual interest and a bright citrus option. Small ramekins filled with different sauces create height variation and make dipping convenient for your guests.
For casual gatherings, line baskets with parchment paper or red-and-white checkered paper to evoke a classic sports bar atmosphere. This approach also makes cleanup easier and gives your presentation a laid-back, approachable feel. If you’re serving wings as an appetizer for a dinner party, use individual small plates or Asian-style appetizer bowls, portioning six to eight wings per person. White porcelain plates create striking contrast against golden-brown wings, while black plates add modern sophistication.
Temperature matters just as much as visual appeal when you bring your wings to the table. Serve them immediately after removing from the oven and tossing in sauce, ideally within five minutes of finishing. The wings will stay crispiest during the first 10 to 15 minutes, so have your accompaniments, drinks, and table settings ready before the wings come out. Warming your serving platter in a low oven for a few minutes beforehand helps maintain temperature longer, giving you and your guests more time to enjoy them at their peak.
Summing up
Drawing together all the elements of preparing crispy oven-baked chicken wings, you now have a comprehensive method that delivers restaurant-quality results in your home kitchen. By following the key steps of proper drying, strategic seasoning, and optimal baking temperature, you can achieve that coveted crispy exterior while maintaining juicy, flavorful meat inside. The technique of using baking powder in your coating works to break down proteins and draw out moisture, giving you the crunch you’re looking for without the need for deep frying.
Your success with this recipe depends on attention to detail throughout the process. When you allow adequate time for air-drying in the refrigerator, position your wings on a wire rack for proper air circulation, and maintain consistent oven temperature, you create the ideal conditions for perfectly crispy wings. Whether you’re preparing them for game day, a family dinner, or meal prep for the week, this method gives you complete control over the final product. You can now customize your wings with any sauce or seasoning blend, confident that your foundation of crispy, well-cooked chicken will elevate whatever flavors you choose to add.