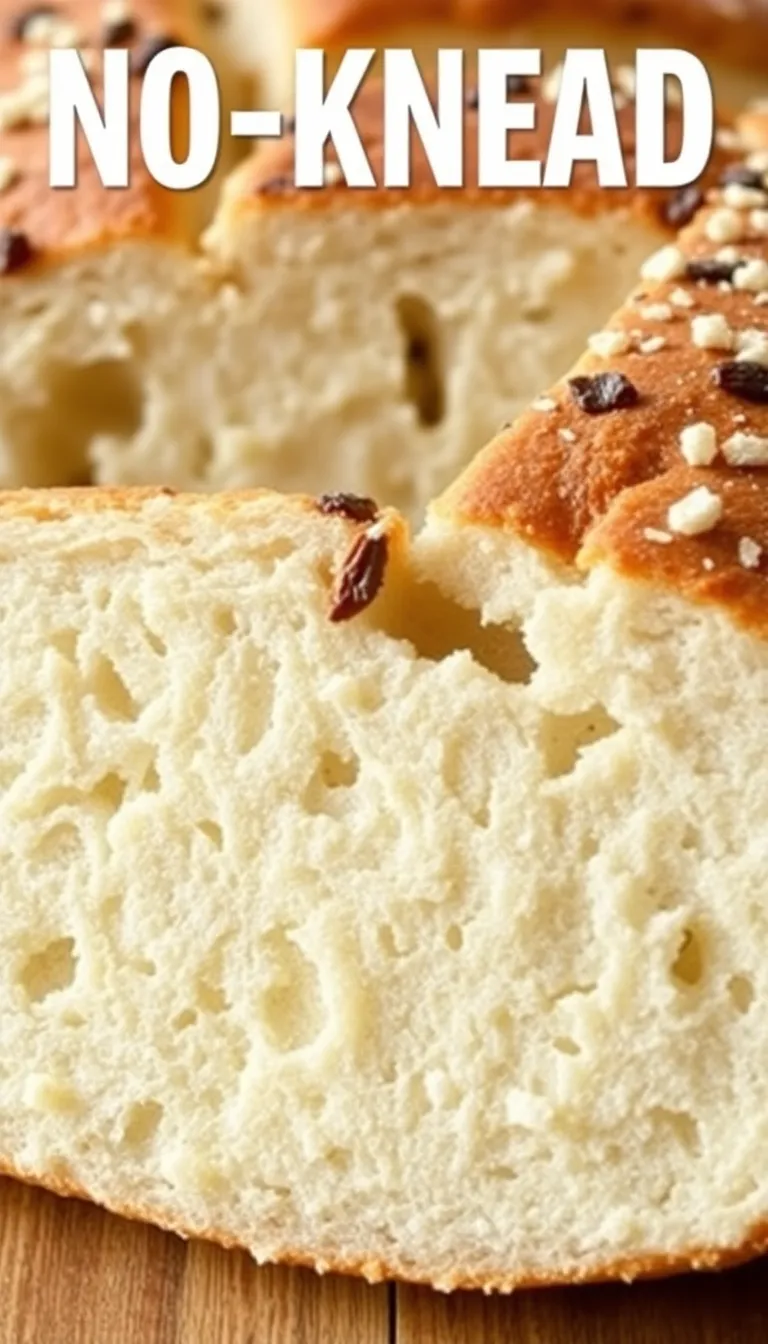
You’re About to Make Stupidly Good Bread
Forget everything you think you know about baking. This isn’t your grandmother’s all-day kneading marathon. This is the cheat code.
The one that makes you look like a culinary genius with almost zero effort. Imagine pulling a crusty, gorgeous loaf from your own oven. The kind you pay $8 for at a fancy bakery.
Your kitchen smells incredible. Your friends think you’re a wizard. And the best part?
You barely lifted a finger. Ready to become a hero?
Why This Recipe is a Total Game-Changer
This method leverages time, not muscle. A wet dough and a long, slow fermentation do all the hard work for you.
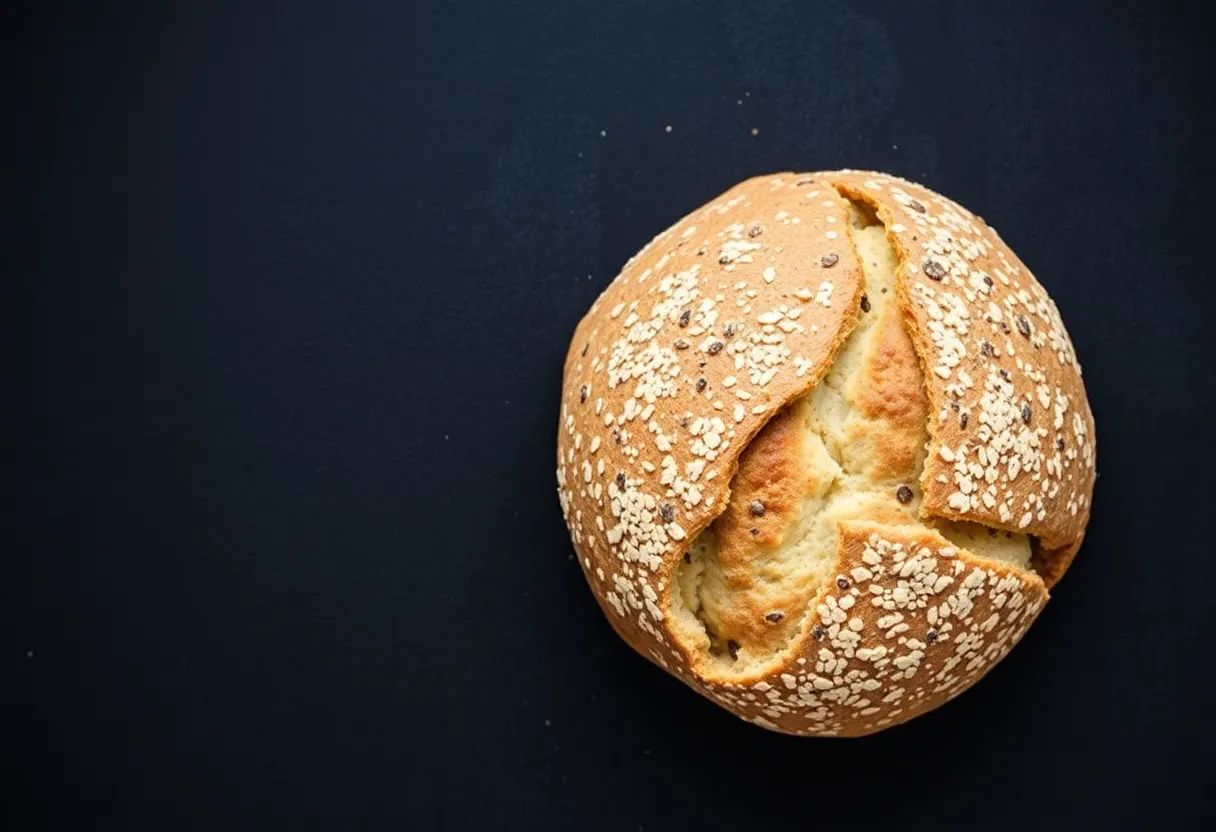
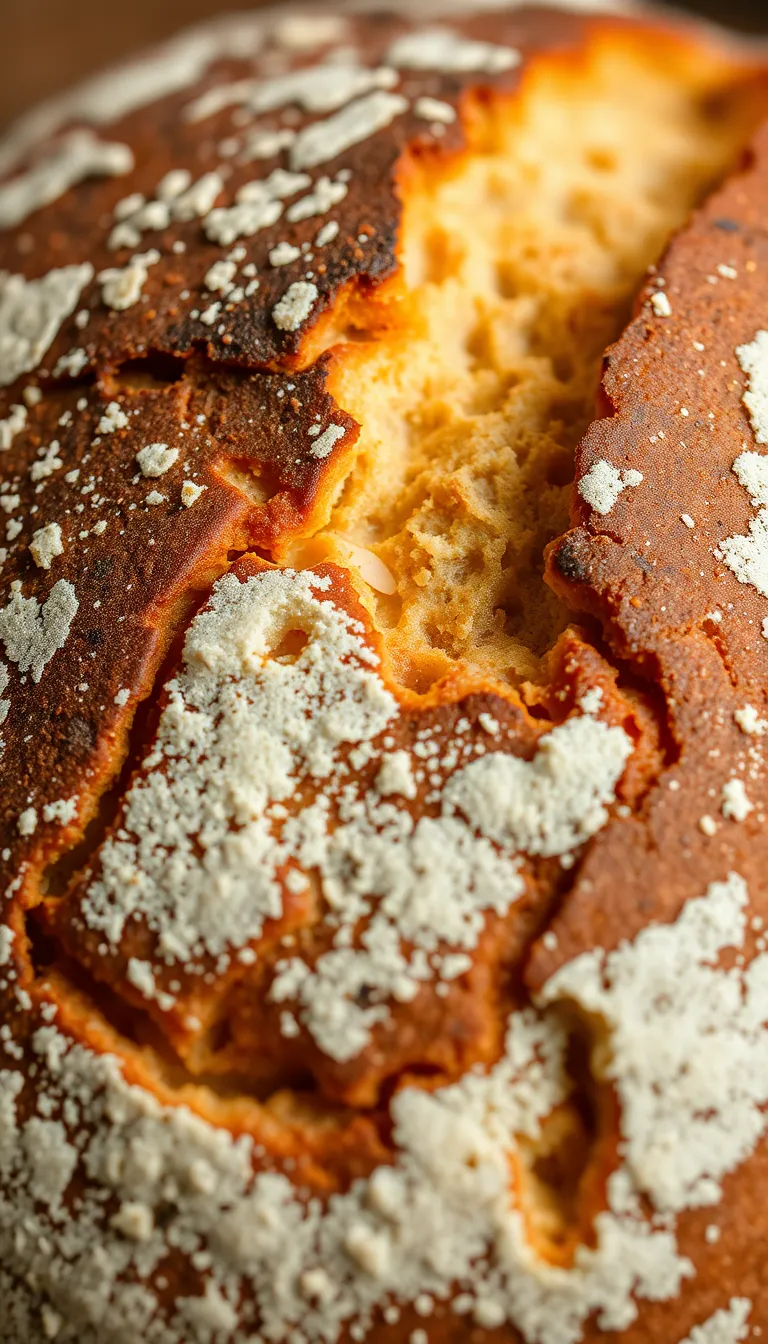
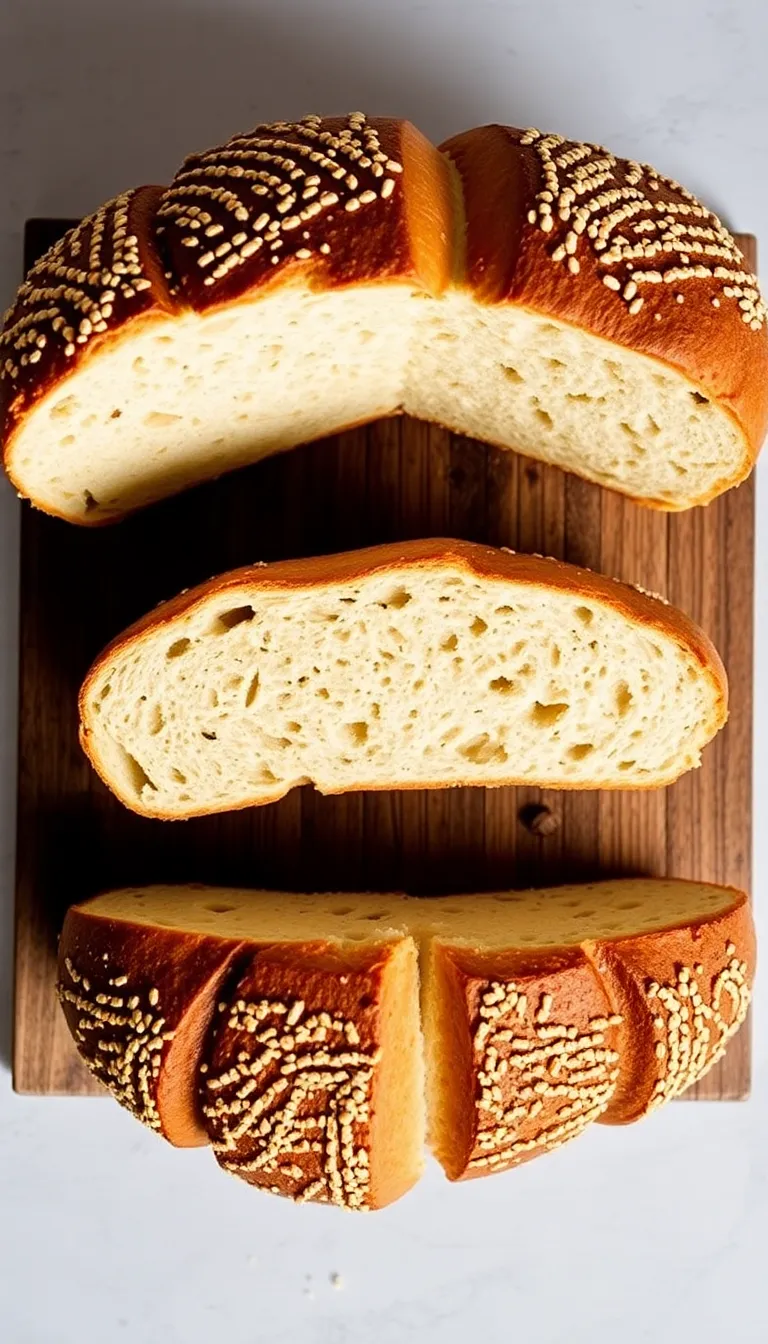
The gluten develops on its own schedule while you sleep, watch Netflix, or generally live your life. The result is a loaf with an incredible, crackly crust and a soft, open, holey crumb—the holy grail of artisan baking. It requires about 5 minutes of active work.
Let that sink in.
The Shockingly Short Ingredient List
You probably have everything you need right now. No special trip to the store required. Here’s the lineup:
- 500g Bread Flour: All-purpose works, but bread flour gives a better chew.
- 10g Salt: Fine sea salt or table salt.
This is non-negotiable for flavor.
- 1/4 tsp Instant Yeast: That’s it. Not a typo.
- 430g Cool Water: Roughly 60-70°F (15-21°C).
Your 5-Minute “Active Work” Recipe

- Mix it all together. In a large bowl, combine the flour, salt, and yeast. Pour in the water.
Stir with a wooden spoon or your hands until there are no dry spots of flour left. The dough will be shaggy and sticky. This is perfect.
Cover the bowl with plastic wrap.
- Walk away for 18 hours. Let it sit at room temperature (around 70°F) for 12 to 18 hours. The dough will be bubbly, doubled in size, and look alive. This is where the magic happens.
- Shape it (sort of). Flour a work surface and dump the dough out.
It’s wet. Fold it over onto itself a few times—this isn’t kneading, it’s just gentle shaping. Form it into a rough ball.
- Let it nap again. Place the dough seam-side down on a well-floured cotton towel (not terry cloth).
Cover it with another floured towel and let it rise for another 1-2 hours.
- Preheat your pot. 30 minutes before baking, put a Dutch oven or heavy pot with its lid into your oven. Preheat to 450°F (230°C). Yes, the pot goes in cold and gets screaming hot.
- Bake it. Carefully remove the hot pot.
Plop your dough into it seam-side up. Put the lid on and bake for 30 minutes. Remove the lid and bake for another 15-20 minutes until the crust is deeply browned.
Let it cool on a wire rack. Try not to tear into it immediately.
How to Keep Your Masterpiece Fresh
The best way to store bread is to not store it at all—eat it the day it’s baked. But if you must, cool it completely first.
Never refrigerate it; that’s the fastest way to make it stale.
For short-term storage, keep it cut-side down on your cutting board. For longer storage, wrap the cooled loaf tightly in foil and freeze it for up to a month. Reheat it directly in a 350°F oven for 10-15 minutes to bring back that fresh-baked magic.
The Benefits of This Ridiculously Easy Method
You get an insane ROI on time and effort.
You develop serious baker’s cred without the carpal tunnel. The long fermentation also makes the bread easier to digest and develops a complex, slightly tangy flavor that store-bought bread can only dream of.
It’s incredibly cheap. The entire loaf costs pennies compared to its artisanal bakery counterpart.
You’re basically printing money in the form of carbohydrates.
Common Mistakes That Will Screw It Up
Using hot water. You’ll kill the yeast. Use cool water.
Measuring flour with a cup instead of a scale. This is the #1 reason recipes fail. A kitchen scale is your best friend here.
Not preheating the pot long enough.
That initial blast of heat is what creates the explosive “oven spring” and killer crust. Skipping the cooling step. Slicing into a hot loaf turns the interior into a gummy mess.
I know it’s hard. Be patient.
Shake Things Up: Simple Alternatives
Bored already? Never.
Toss in a handful of chopped olives, rosemary, or shredded cheese during the initial mix. Swap out 100g of the bread flour for whole wheat or rye flour for a deeper flavor.
No Dutch oven? Use any heavy, oven-safe pot with a tight-fitting lid.
A combo cooker or even a deep pizza steel with a bowl inverted over the dough can work in a pinch.
FAQ: Your Questions, Answered
Can I use all-purpose flour instead of bread flour?
Absolutely. The loaf might have a slightly less chewy texture, but it will still be fantastic. The recipe is very forgiving.
My dough is too wet and sticky to handle.
What did I do wrong?
Nothing. It’s supposed to be that way. This is a high-hydration dough.
Use plenty of flour on your hands and the work surface when you shape it. Embrace the mess.
Why does the pot need to be preheated?
The preheated pot creates a mini steam-injected oven environment. The lid traps the steam released from the dough, which gives you that professional-level, blistery, crisp crust.
It’s the most important trick in the book.
I only have active dry yeast. Can I use it?
Yes. Use the same amount.
There’s no need to proof it first in water because of the long fermentation time. Just mix it in with the dry ingredients.
Final Thoughts
This recipe is a gateway drug. It proves that incredible baking is accessible.
It demystifies the process and puts a world-class loaf on your table. Stop thinking about it and just do it. Mix the dough tonight.
Your future self, happily chewing on warm bread tomorrow, will thank you.