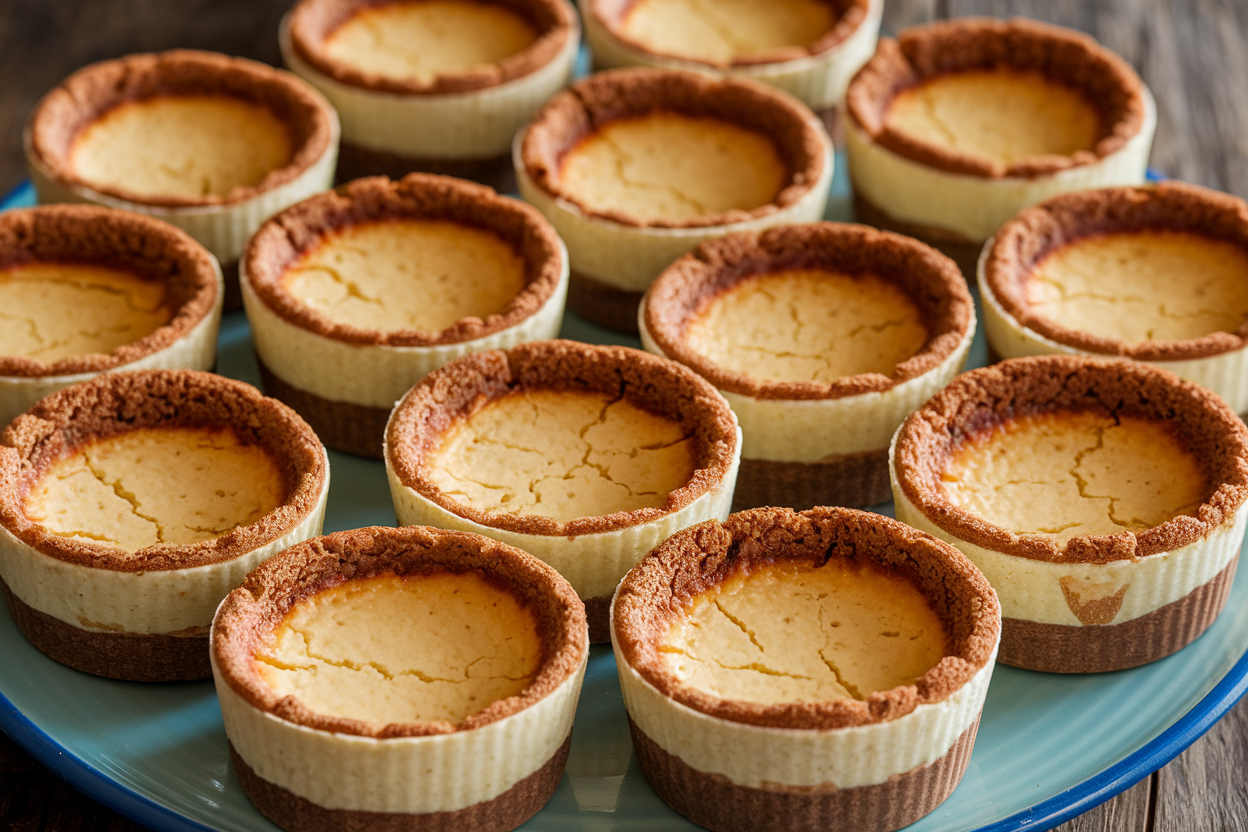
Mini Cheesecake Bites That Disappear in Minutes: The 2-Bite Dessert Everyone Asks For
Skip the giant, crack-prone cheesecakes. These Mini Cheesecake Bites bring the same rich, creamy payoff without the stress, the wait, or the leftover guilt. They’re quick to assemble, cool fast, and vanish even faster—like a dessert hack your future self will thank you for.
Perfect for parties, meal prep, or “I just need something sweet at 10 PM” moments. Make a batch, stash them, and pretend you don’t know where they went. Spoiler: you do.
What Makes This Special
Mini Cheesecake Bites hit the holy trinity: speed, portion control, and customization.
You get the lush texture of restaurant cheesecake without a water bath or hours of chill time. One bowl for the batter, one pan, and done.
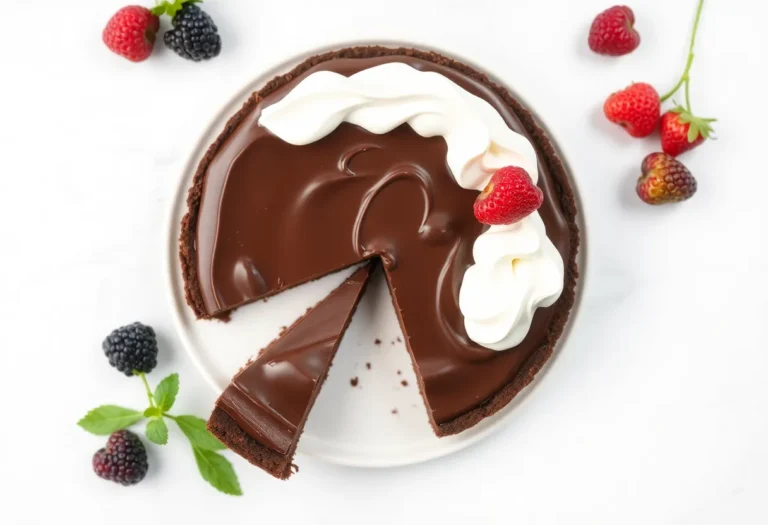
They’re also incredibly forgiving. No fancy springform, no cracking drama, and you can top them with literally anything—berries, caramel, lemon curd, crushed cookies, or a quick chocolate ganache.
Want gluten-free or low-carb? Easy swaps. These bites play nice with everyone.
Shopping List – Ingredients
- For the crust:
- 1 1/4 cups graham cracker crumbs (or digestive biscuit crumbs)
- 3 tablespoons granulated sugar
- 5 tablespoons unsalted butter, melted
- Pinch of fine sea salt
- For the cheesecake batter:
- 16 oz (450 g) cream cheese, softened to room temp
- 2/3 cup granulated sugar
- 2 large eggs, room temp
- 1/3 cup sour cream
- 1 teaspoon pure vanilla extract
- 1 tablespoon fresh lemon juice
- Zest of 1 lemon (optional but recommended)
- Pinch of fine sea salt
- Optional toppings:
- Fresh berries or berry compote
- Salted caramel or chocolate ganache
- Lemon curd
- Crushed cookies or toasted nuts
- Whipped cream
- Equipment:
- Standard 12-cup muffin tin (or 24-cup mini muffin tin)
- Paper liners
- Mixing bowls and hand/stand mixer
- Cookie scoop (helps with portioning)
The Method – Instructions
- Prep the gear. Line a muffin tin with paper liners.
Preheat the oven to 325°F (165°C). If you’re using a dark pan, consider 315°F (157°C) to prevent over-browning.
- Make the crust. Stir graham crumbs, sugar, salt, and melted butter until the mixture resembles damp sand. It should clump when pinched.
- Press it down. Divide crust among liners (about 1 heaping tablespoon each).
Press firmly with the bottom of a measuring spoon to compact. A firm base = less crumble.
- Par-bake. Bake crusts for 5–6 minutes until set and fragrant. Cool while you prepare the filling.
- Cream the cheese. Beat cream cheese on medium until smooth and fluffy, about 1–2 minutes.
No lumps allowed—scrape the bowl, then scrape again. Yes, it matters.
- Add sweetness. Beat in sugar and salt until glossy and silky, about 45 seconds. Avoid overwhipping to keep things dense and creamy.
- Eggs in, gently. Add eggs one at a time on low speed, mixing just until incorporated.
Overmixing adds air, which can cause cracks. We like smooth, not soufflé.
- Finish the flavor. Mix in sour cream, vanilla, lemon juice, and zest on low until just combined. The batter should be velvety and pourable.
- Fill the cups. Divide batter among crusts (about 2 tablespoons each, roughly 3/4 full).
Tap the pan lightly to pop surface bubbles.
- Bake to set, not dry. Bake 15–18 minutes (12–14 for mini muffin pans). Edges should be set with a slight wobble in the center—think Jell-O jiggle, not soup.
- Cool like a pro. Turn off the oven, crack the door, and let them sit 10 minutes. Then move to a rack and cool completely.
This gentle cool helps prevent cracks.
- Chill. Refrigerate at least 2 hours, ideally 4+. The texture transforms from “good” to “wow.”
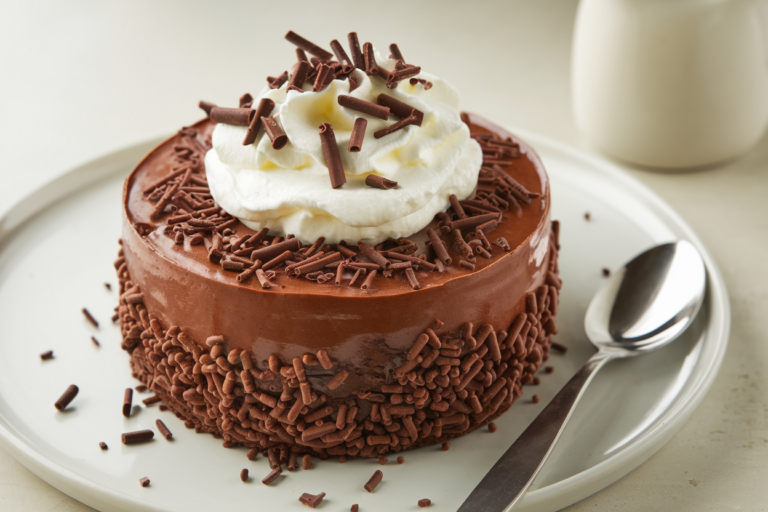
- Top and serve. Add berries, ganache, curd, or whipped cream right before serving. If you’re feeling extra, dust with powdered sugar for the flex.
Preservation Guide
- Fridge: Store in an airtight container for up to 5 days.
Keep toppings separate until serving to avoid soggy crowns.
- Freezer: Freeze un-topped bites on a sheet tray until solid, then transfer to a zip-top bag. They keep 2–3 months. Thaw overnight in the fridge.
- Make-ahead: Bake and chill the day before an event.
Top within an hour of serving for best presentation. FYI, whipped cream wilts after ~2 hours.
Nutritional Perks
These are indulgent, but not reckless. Each bite (without toppings) lands around 150–190 calories, depending on size and crust.
You get a decent boost of protein and calcium from cream cheese and sour cream.
Use reduced-fat cream cheese or Greek yogurt to nudge the macros lighter, or choose a nut-based crust for healthier fats. Fresh berries add antioxidants and fiber—your body will nod in approval. Moderation?
Helpful. Deprivation? Overrated.
Avoid These Mistakes
- Cold ingredients = lumpy batter. Bring cream cheese and eggs to room temp for a perfectly smooth texture.
- Overmixing. Too much air makes the tops puff, crack, and sink.
Gentle mixing on low speed is your friend.
- Overbaking. If the centers are firm in the oven, they’re already overdone. Pull them with a slight wobble.
- Skipping the cool-down. A gradual cool reduces cracks and keeps the texture silky. Don’t rush it—patience pays.
- Soggy crusts. Par-bake and press firmly.
Also, avoid watery toppings until serving time.
Alternatives
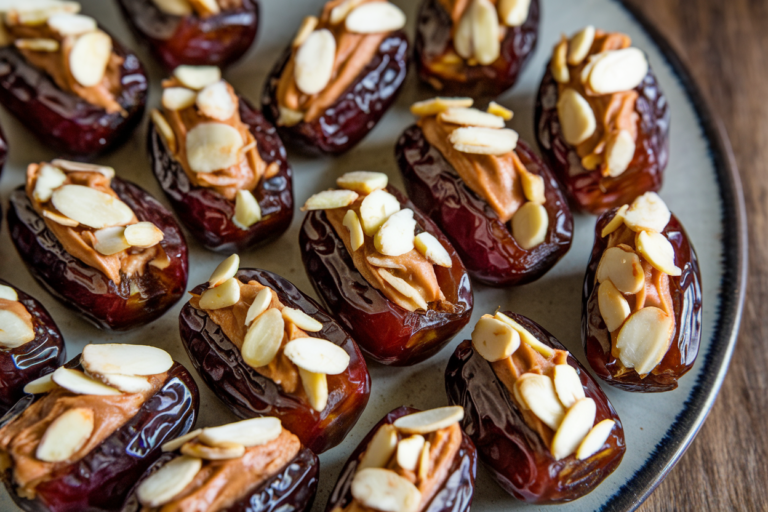
- Crust swaps: Chocolate wafer crumbs, Oreos (no extra sugar needed), Biscoff, or almond flour with a touch of maple syrup and butter.
- Flavor twists: Stir in 2 tablespoons of cocoa for chocolate cheesecake, or swirl in 2 tablespoons raspberry jam before baking. Espresso powder? Yes, chef.
- Lower sugar: Replace sugar with a 1:1 baking sweetener like allulose or erythritol blend.
Taste and adjust, IMO.
- Dairy tweaks: Use lactose-free cream cheese and sour cream. For a tangier profile, sub half the sour cream with Greek yogurt.
- Mini vs. standard muffins: Use a mini muffin tin for bite-size party nibbles. Reduce bake time by ~25% and watch closely.
- Egg-free: Swap each egg with 3 tablespoons of room-temp plain Greek yogurt or a commercial egg replacer.
Texture will be slightly softer but still lush.
Can I make these without liners?
Yes, but grease the pan well and consider a light dusting of flour or fine crumbs. Liners ensure clean edges and easy release, especially if freezing, so they’re still the safer bet.
How do I prevent cracks on top?
Use room-temperature ingredients, avoid overmixing, bake at a moderate temp, and cool gradually with the oven door cracked. Topping also hides tiny imperfections—because we’re practical like that.
Why did my crust crumble?
It likely needed more butter or firmer packing.
The mixture should clump when pinched; if it’s dry, add another tablespoon of melted butter and press more firmly before par-baking.
Can I double the recipe?
Absolutely. Bake in two pans or in batches. Do not overcrowd the oven; consistent heat circulation keeps the texture even and prevents hot spots.
What toppings pair best?
Classic winners: strawberry compote, blueberry sauce, lemon curd, salted caramel, or dark chocolate ganache.
For crunch, add toasted pecans, pistachios, or crushed Biscoff.
How long do they need to chill?
Minimum 2 hours, ideally 4. Overnight is elite if you want that ultra-smooth, slice-clean texture. The chill time sets the structure and deepens flavor.
Can I use a food processor?
Yes.
Pulse the batter ingredients just until smooth, scraping the bowl. A processor minimizes air, which is great, but keep an eye on overprocessing.
In Conclusion
Mini Cheesecake Bites deliver big-cheesecake flavor with low-risk, high-reward simplicity. They’re fast, flexible, and dangerously snackable—like the Swiss Army knife of desserts.
Tweak the crust, switch the toppings, or make them mini-mini; they still crush it at any table.
Make a dozen, stash a few in the freezer, and watch how often “dessert?” becomes a daily yes. Your only problem will be explaining why they keep disappearing. Blame the fridge gremlins—works every time.
Printable Recipe Card
Want just the essential recipe details without scrolling through the article? Get our printable recipe card with just the ingredients and instructions.