Japanese Chicken Katsu
Ever wondered why Japanese chicken katsu is a hit in American kitchens? It turns simple chicken into a crispy, golden delight. This dish takes you straight to Tokyo’s lively street food scene.
Japanese chicken katsu is more than food; it’s a culinary journey. It combines simple ingredients with expert techniques. The secret is its crispy coating that adds a satisfying crunch with every bite. Whether you love cooking or exploring new flavors, this guide will show you how to make restaurant-quality Japanese chicken katsu at home.
Key Takeaways
- Learn the authentic technique behind Japanese chicken katsu
- Discover the importance of panko breadcrumbs in achieving crispy perfection
- Understand the cultural significance of this beloved Japanese dish
- Master the art of creating a golden, crunchy coating
- Explore easy-to-follow recipes and cooking tips
Quick Recomendation: Our blog is full of useful information to inspire you. If you are seeking a healthy way to prepare your meals, we recommend this Keto product
What Makes Japanese Chicken Katsu Special
Japanese cuisine is full of tasty dishes, but chicken katsu is a standout. It’s not just a meal; it’s a cultural experience loved by many. The way tonkatsu is made turns a simple chicken cutlet into a special treat.
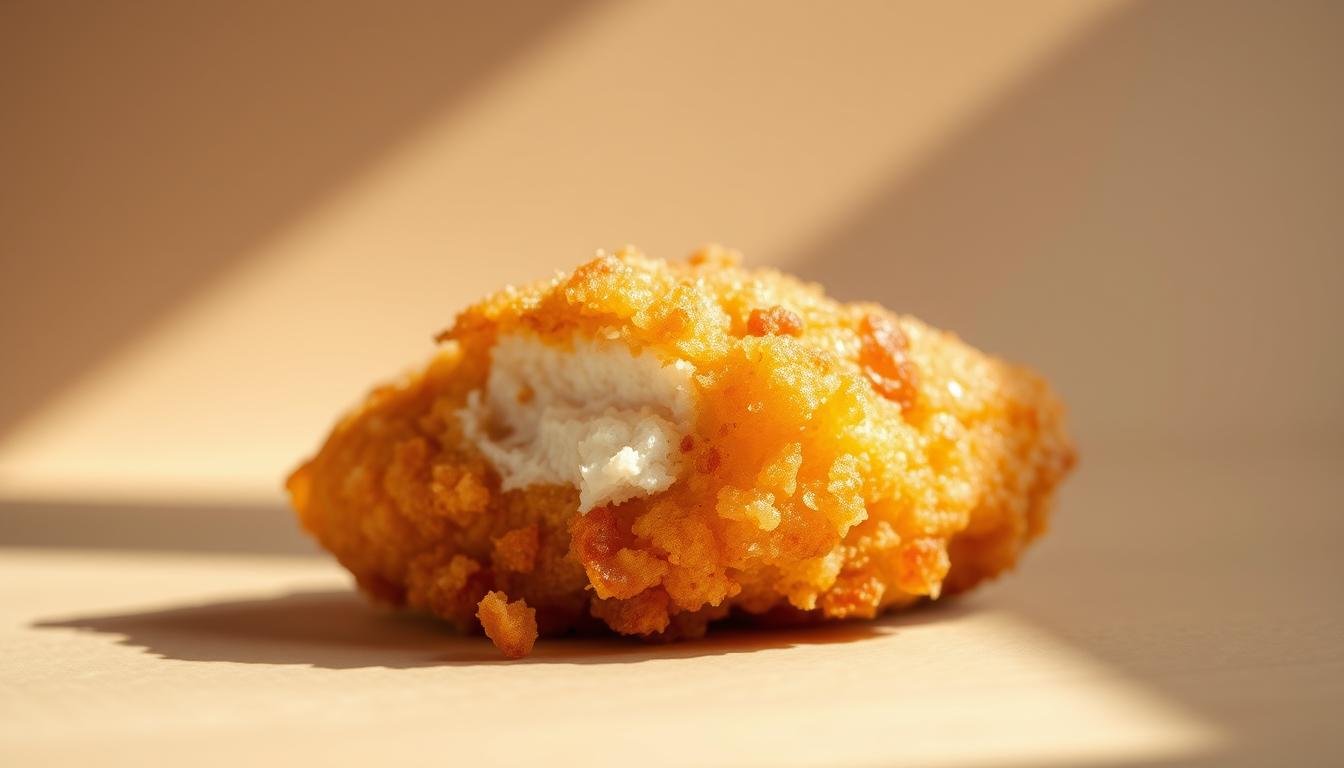
The breading of chicken katsu is what makes it unique. It uses panko breadcrumbs, which are coarser and flakier than regular breadcrumbs. This gives it a crunch that’s hard to find in other fried chicken.
Chicken katsu’s magic comes from its preparation. Chefs pound the chicken thin and coat it in flour, egg, and panko. This makes the outside crispy and the inside juicy. Served with tonkatsu sauce, it’s a mix of flavors that shows off Japanese cooking at its best.
Chicken katsu is more than a meal; it’s a celebration of texture, flavor, and skill. It’s loved in kitchens and restaurants everywhere.
Essential Ingredients for Authentic Japanese Chicken Katsu

To make the perfect Japanese chicken katsu, start with the right ingredients. Use boneless chicken breasts or thighs for a tender base. This is where your dish begins.
Panko breadcrumbs are key to a great katsu. They make the chicken crispy and light, unlike regular breadcrumbs. This gives your katsu that golden, crunchy outside everyone loves.
You’ll need a few important things: good chicken cutlets, panko breadcrumbs, flour, eggs, and a neutral oil like vegetable or canola. These ingredients help your katsu turn out crispy and juicy inside.
Quality matters a lot. Use fresh chicken and top-notch panko breadcrumbs. With these, you’ll make a katsu that will wow anyone who tries it.
The Perfect Panko Breading Technique

Learning the panko breading technique is key to making Japanese chicken katsu that’s crispy and delicious. You’ll need three stations: seasoned flour, beaten eggs, and fluffy panko breadcrumbs.
Start by making your flour mix. Add salt, pepper, and a bit of garlic powder. This layer gives your chicken a rich flavor. When you dip the chicken in flour, shake off the extra. This helps the egg wash stick better.
The egg wash is important for sticking the panko breadcrumbs. Make sure to dip each piece fully and let any extra egg drip off. This step is essential for a crunchy coating.
To get the best panko breading, gently press the breadcrumbs onto the chicken. Make sure to cover it evenly. Use a light touch to keep the coating light and crispy. You want a golden, crunchy exterior that sounds great when you bite into it.
Pro tip: Let the breaded chicken rest for 5-10 minutes before frying. This helps the coating stick better. It ensures your chicken comes out crispy and professional-looking every time.
Preparing Your Chicken for Katsu

To make tasty chicken cutlets, start by picking the right chicken. Choose boneless, skinless chicken breasts that are fresh and of high quality. It’s important to make sure the chicken is even in thickness for even cooking.
First, remove any extra fat from the chicken breasts. Then, place the chicken between two sheets of plastic wrap. Use a meat mallet to pound it to about 1/4 inch thickness. This makes the meat tender and ready for breading.
Seasoning is key for flavorful chicken cutlets. Sprinkle both sides with salt and pepper. Some people also add a bit of garlic powder or herbs for extra flavor. After seasoning, pat the chicken dry with paper towels. This helps the breading stick well.
Let your chicken cutlets sit at room temperature for about 15 minutes before cooking. This makes them cook more evenly and prevents toughness. By following these steps, you’ll make crispy, delicious Japanese chicken katsu that everyone will love.
Step-by-Step Guide to Japanese Chicken Katsu

To make perfect deep-fried chicken katsu, you need to be precise and patient. Start by setting up your breading station. You’ll need three dishes: flour, beaten eggs, and panko breadcrumbs. This method ensures a crispy, golden-brown coating that will make your chicken katsu irresistible.
First, prepare your chicken by pounding the cutlets to an even thickness of about half an inch. Season the meat with salt and pepper. Coat each piece thoroughly in flour, shaking off any excess. This initial flour layer helps the egg and breadcrumbs stick perfectly.
Dip the floured chicken into beaten eggs, making sure every surface is covered. Next, press the cutlet into panko breadcrumbs, ensuring a thick, even coating. The key to authentic Japanese chicken katsu is creating a crisp, light breading that doesn’t become soggy.
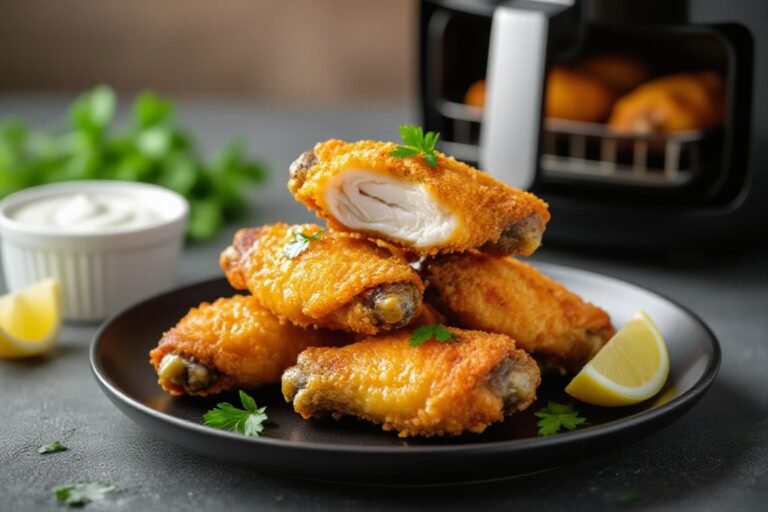
Heat vegetable oil in a deep pan to 350°F. Carefully place the breaded chicken into the hot oil, cooking for 3-4 minutes on each side until the deep-fried chicken turns a beautiful golden brown. Use a wire rack to drain excess oil and maintain the crispy texture.
Safety is key when deep-frying. Always use long tongs, keep a splatter screen nearby, and never leave hot oil unattended. With practice, you’ll master this delicious Japanese cuisine technique that transforms simple chicken into a restaurant-worthy dish.
Traditional Katsu Sauce and Accompaniments
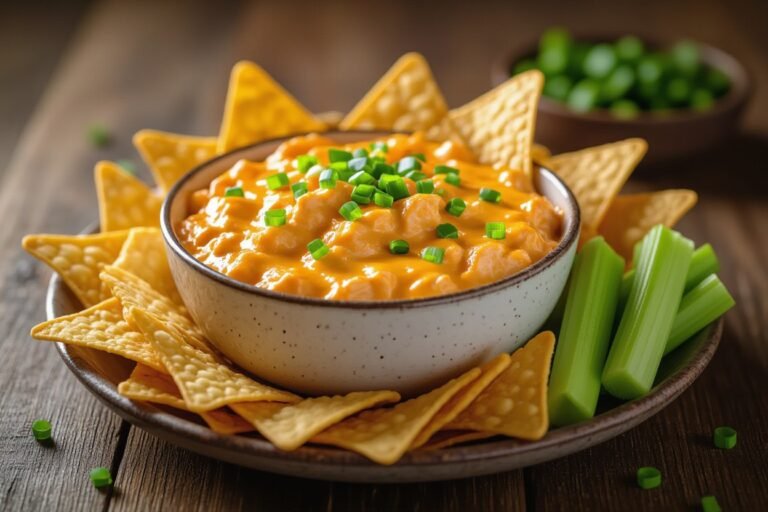
Your Japanese Chicken Katsu experience isn’t complete without the perfect tangy sauce. Tonkatsu sauce is the heart of this dish, turning a crispy chicken cutlet into a flavor-packed meal. This rich, sweet-savory condiment brings a distinctive taste that elevates the entire dining experience.
Making authentic tonkatsu sauce at home is easier than you might think. Start with basic ingredients like ketchup, Worcestershire sauce, soy sauce, and a touch of sugar. The key is balancing these components to achieve that signature tangy sauce profile. Whisk them together until smooth, and you’ll have a condiment that rivals restaurant-quality versions.
Shredded cabbage is another essential accompaniment to your chicken katsu. This simple side dish provides a fresh, crisp contrast to the deep-fried cutlet. Slice cabbage into thin strips, and serve it chilled for maximum crunch. A light sprinkle of salt helps draw out extra moisture, ensuring a perfect texture that complements the tonkatsu’s richness.
When serving, drizzle the tangy sauce generously over your chicken katsu. The combination of crispy breading, tender meat, and zesty sauce creates a truly memorable Japanese-inspired meal. It will transport your taste buds straight to Tokyo.
Tips for Achieving the Perfect Crispy Coating
Getting the perfect crispy coating on your chicken katsu takes practice. Your panko breading is key to a great dish. Make sure your chicken is dry before you start. Use paper towels to dry it well.
Temperature is important for a crispy coating. Heat your oil to 350-375°F for the best results. This temperature helps the panko breading turn golden brown without burning. A deep-fry thermometer is handy for keeping the temperature right.
For an extra crispy texture, try double-breading your chicken. First, dip it in flour, then in an egg wash, and lastly in panko breading. Do the egg and panko steps again for a thicker coating. Shake off excess breading between layers to avoid clumps.
Don’t overcrowd the pan when frying. Give each piece of chicken enough space for even cooking and crispiness. Drain fried chicken on a wire rack instead of paper towels. This keeps the panko breading crisp and prevents it from getting soggy.
Try adding seasonings to your panko breading. A pinch of garlic powder, dried herbs, or ground sesame seeds can make your coating more flavorful. This adds extra taste to your chicken katsu.
Serving Suggestions and Side Dishes
When you serve Japanese chicken katsu, aim for a meal that’s both balanced and tasty. Traditional Japanese cuisine has many great side dishes that go well with the crispy chicken.
Begin with steamed white rice, which soaks up the katsu sauce nicely. Shredded cabbage is a light side that brings freshness. Adding pickled veggies like cucumber or daikon radish adds nutrition and cuts the richness of the chicken.
Miso soup is a classic choice that completes the meal. Its warm, savory broth contrasts well with the crunchy katsu. You can also turn your chicken katsu into a katsu curry or katsu donburi for a heartier dinner.
Feel free to try new things like ponzu sauce or spicy chili mayo with your katsu. These modern twists can make the dish more exciting. Just remember, mix textures and flavors well, and let the crispy chicken shine.
Storage and Reheating Guidelines
Keeping your japanese chicken katsu crispy is key. After making it, you’ll want to keep it fresh and crunchy. This way, you can enjoy it again soon.
For short-term storage, the fridge is best. Put your leftover katsu in a sealed container. Use paper towels to separate layers and soak up moisture. This keeps the coating crispy and prevents it from getting soggy. Store it in the fridge for up to 3 days.
To reheat, avoid the microwave. It can ruin the crispy coating. Instead, use an oven or air fryer. Preheat your oven to 375°F. Place the katsu on a wire rack and bake for 10-12 minutes, flipping once for even heating.
For freezing, wrap each piece in plastic wrap and then in a freezer-safe container. Frozen katsu can last up to a month. Thaw it in the fridge overnight before reheating for the best texture and crispiness.
Pro tip: Always let your katsu cool completely before storing. This prevents moisture that can make the breading soggy. With these tips, your katsu will stay crispy and delicious for days.
Conclusion
Making the perfect Japanese chicken katsu at home is more than a recipe. It’s a journey into comfort food that brings tasty flavors to your kitchen. With what you’ve learned, you can turn simple ingredients into a crispy, golden dish that’s as good as any restaurant’s.
Getting better at Japanese chicken katsu takes practice. Don’t worry if your first try isn’t perfect. With each attempt, you’ll get better at breading and achieving that golden crust. You’ll also grow to love this Japanese comfort food even more.
The charm of Japanese chicken katsu is in its simplicity and flexibility. You can try new seasonings, use different proteins like pork or tofu, and make it your own. Now, your kitchen is ready to create dishes that will wow your family and friends.
Cooking is all about having fun and being creative. Your Japanese chicken katsu will not only fill your belly but also add excitement to your meals. Enjoy the journey, trust your abilities, and relish every crispy, tasty bite.
Quick Recomendation: Our blog is full of useful information to inspire you. If you are seeking a healthy way to prepare your meals, we recommend this Keto product