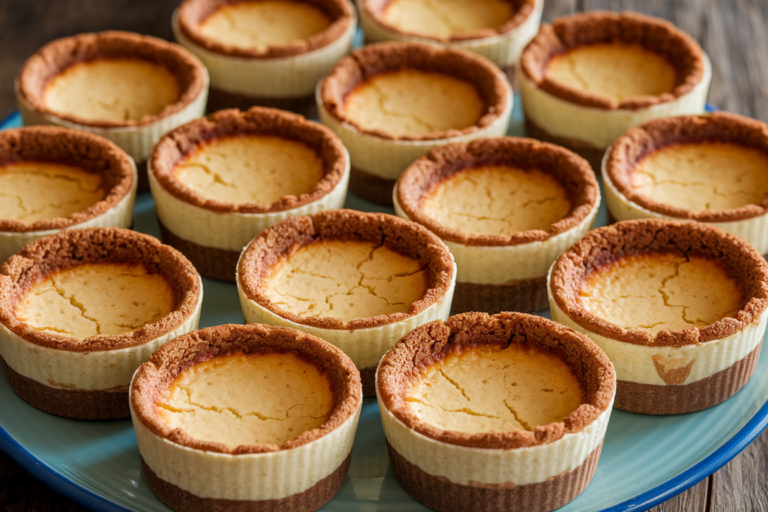
Homemade New York Cheesecake: The Only Recipe You’ll Ever Need
New York cheesecake isn’t just dessert—it’s a flex. Imagine slicing into a creamy, dense, perfectly tangy masterpiece that makes store-bought versions taste like sad imitations. No fancy equipment, no obscure ingredients, just pure indulgence.
Want to impress your friends, family, or just your future self? This recipe is your golden ticket. And no, you don’t need to live in NYC to pull it off.
Ready to level up your baking game? Let’s go.
Quick Recomendation: Our blog is full of useful information to inspire you. If you are seeking a healthy and proven way to prepare your meals, we recommend this Keto product
Why This Recipe Works
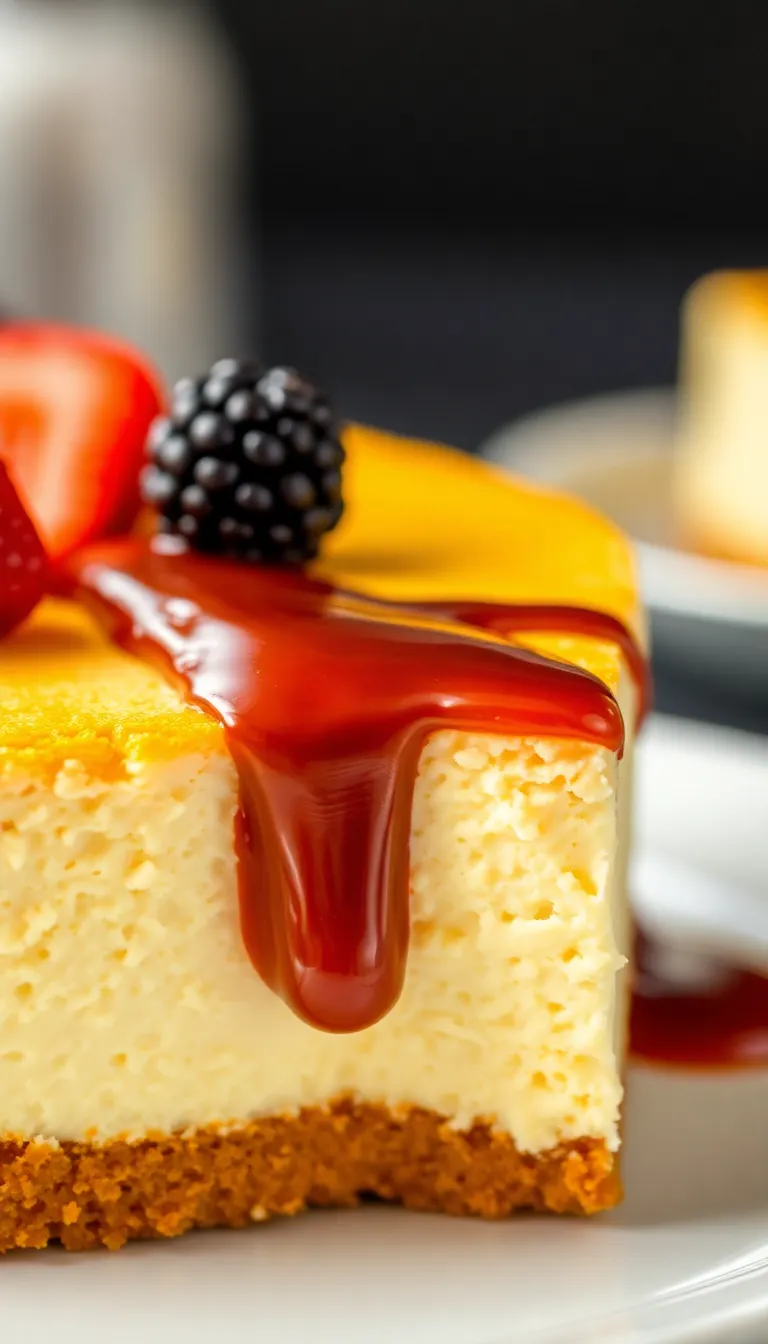
This isn’t just a cheesecake—it’s the cheesecake. The secret? Full-fat cream cheese and sour cream for that iconic richness.
A water bath ensures no cracks, while vanilla and lemon zest add depth without overpowering. It’s simple but precise, forgiving but foolproof. And yes, it’s better than your aunt’s version (sorry, Aunt Carol).
Ingredients
- Crust: 1 ½ cups graham cracker crumbs, ¼ cup sugar, 6 tbsp melted butter
- Filling: 4 (8-oz) blocks cream cheese (room temp), 1 ¼ cups sugar, 1 cup sour cream, 1 tbsp vanilla extract, 1 tsp lemon zest, 4 eggs (room temp)
- Extras: A pinch of salt, because life’s too bland without it
Step-by-Step Instructions

- Prep the crust: Mix graham crumbs, sugar, and butter.
Press into a 9-inch springform pan. Bake at 325°F for 10 minutes. Let it cool like it’s chilling after a workout.
- Beat the cream cheese: Whip it until smooth—no lumps allowed.
Add sugar, sour cream, vanilla, and lemon zest. Mix until it’s smoother than a jazz playlist.
- Add eggs one at a time: Don’t dump them all in like laundry. Gentle beats only—overmixing = cracks = sadness.
- Bake in a water bath: Wrap the pan in foil, place it in a roasting pan, and pour hot water halfway up.
Bake at 325°F for 1 hour 10 minutes.
- Cool slowly: Turn off the oven, crack the door, and let it sit for 1 hour. Then fridge it for at least 4 hours (overnight is MVP).
Storage Instructions
Cover leftovers (if they exist) with plastic wrap or foil. Fridge for up to 5 days.
For longer storage, freeze slices wrapped in plastic + foil for 2 months. Thaw in the fridge—no microwave shortcuts unless you enjoy cheesecake soup.
Why You Should Make This

It’s cheaper than buying a whole cheesecake, and you get bragging rights. Plus, you control the ingredients—no weird preservatives.
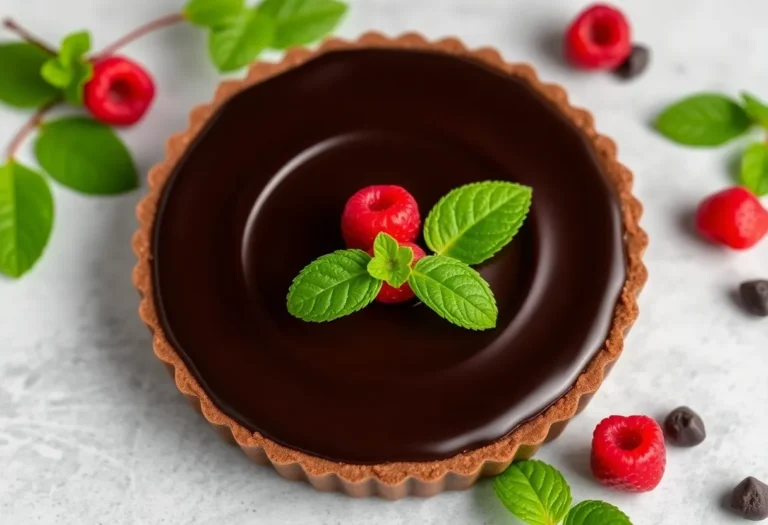
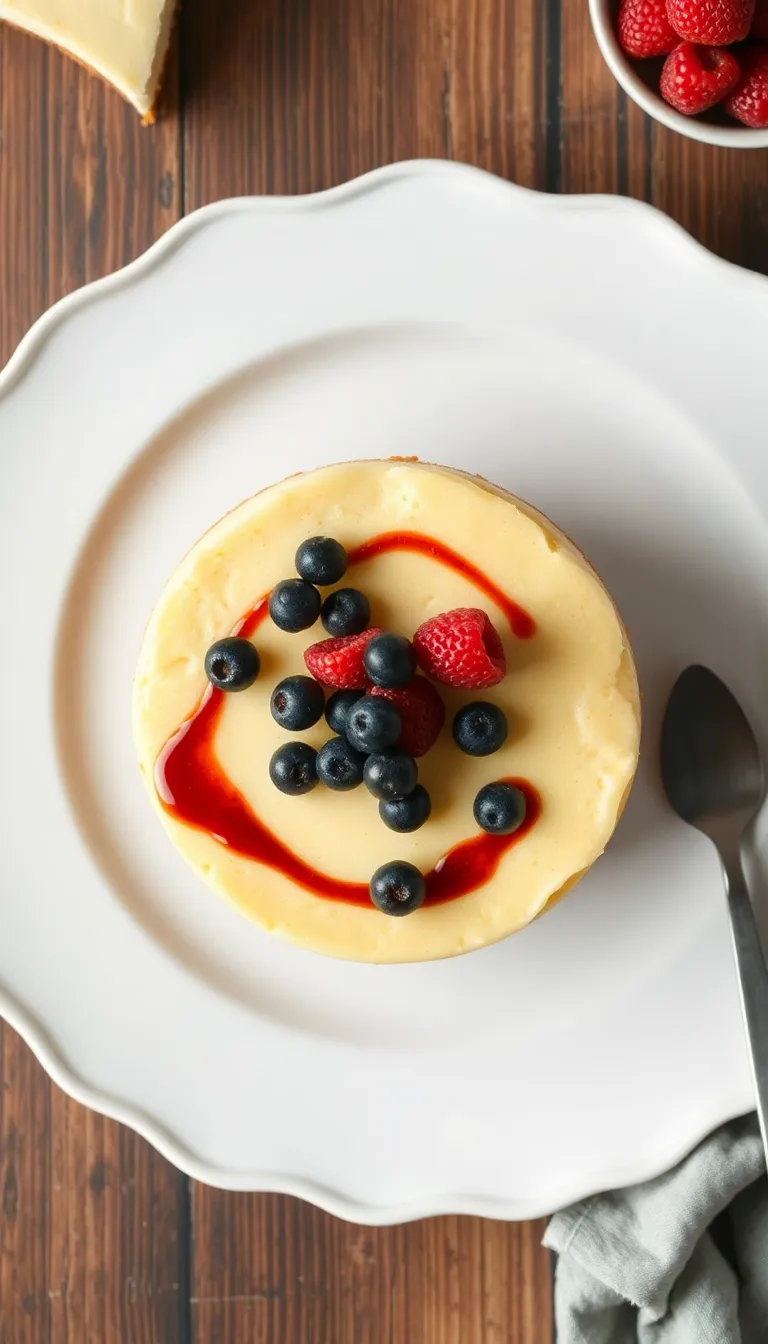
It’s also versatile: top with berries, caramel, or just eat it plain like a boss. And let’s be real, homemade desserts taste better because you put effort into them (or at least pretended to).
Common Mistakes to Avoid
- Cold ingredients: Room temp cream cheese and eggs mix better. Cold = lumpy = bad texture.
- Overmixing: Too much air = cracks.
Mix just until combined—this isn’t a cardio session.
- Skipping the water bath: Unless you want a cheesecake that looks like the Grand Canyon.
- Impatient cooling: Rushing this step = sad, soggy mess. Let it set properly.
Alternatives
- Crust: Swap graham crackers for Oreos, pretzels, or gluten-free crumbs.
- Flavor: Add cocoa powder for chocolate, or swirl in pumpkin puree for fall vibes.
- Lighter version: Use Neufchâtel cheese and Greek yogurt (but don’t blame us if it’s not as rich).
FAQs
Can I use low-fat cream cheese?
Technically yes, but why? Low-fat = less creamy = less delicious.
Go big or go home.
Why did my cheesecake crack?
Overmixing, no water bath, or cooling too fast. Embrace the water bath—it’s your friend.
Can I skip the sour cream?
Sure, but it adds tang and creaminess. Substitute plain yogurt if you must, but IMO, don’t.
How do I know it’s done?
The edges should be set, but the center should jiggle slightly (like Jell-O, not a waterbed).
Can I freeze the whole cheesecake?
Yes, but slice it first for easier thawing.
Pro tip: Freeze on a baking sheet before wrapping.
Final Thoughts
This New York cheesecake is a game-changer. It’s rich, foolproof, and guaranteed to make you look like a baking pro. Follow the steps, avoid the pitfalls, and you’ll have a dessert that’s worth every calorie.
Now go forth and cheesecake.
Quick Recomendation: Our blog is full of useful information to inspire you. If you are seeking a healthy and proven way to prepare your meals, we recommend this Keto product
Printable Recipe Card
Want just the essential recipe details without scrolling through the article? Get our printable recipe card with just the ingredients and instructions.