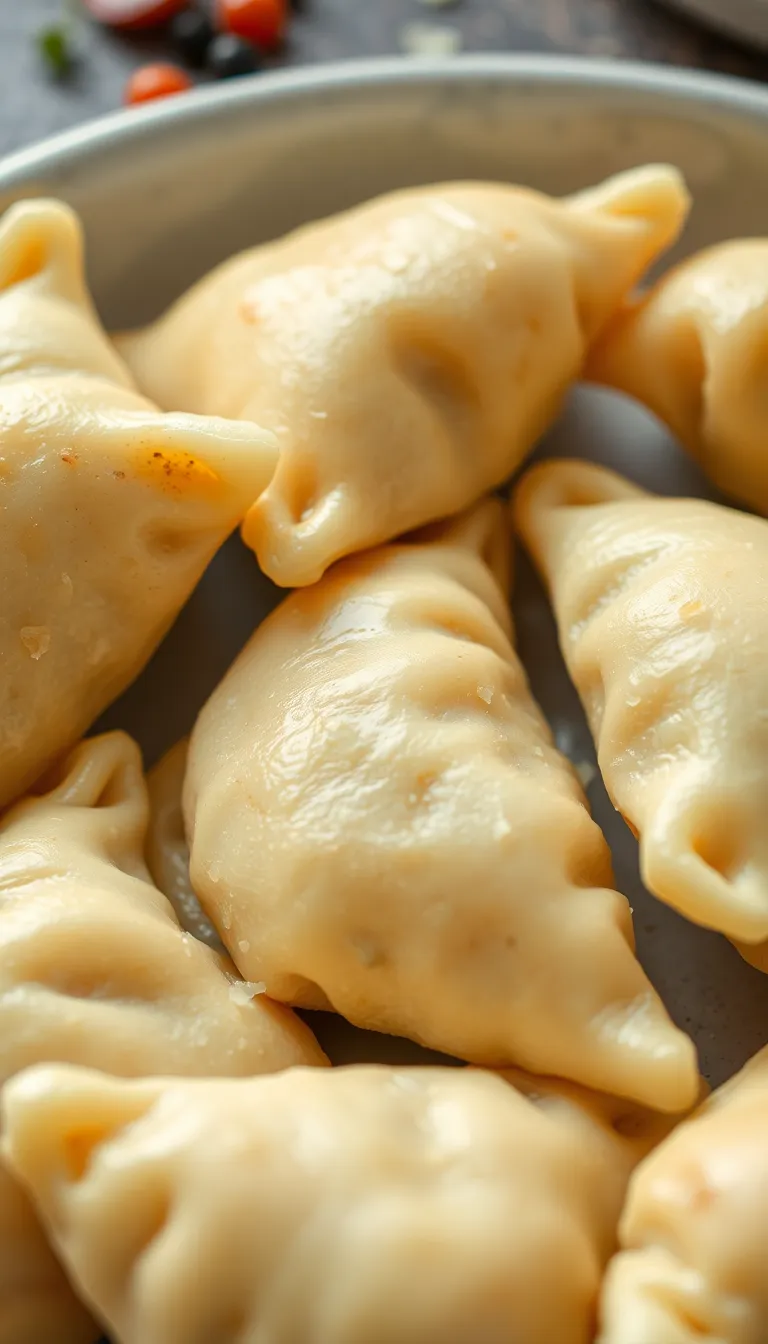
Cheese & Potato Pierogi: The Comfort Food You Didn’t Know You Needed
Picture this: pillowy pockets of dough stuffed with creamy mashed potatoes and melty cheese, pan-fried to golden perfection. Sound like heaven? That’s because it is.
Pierogi are the ultimate comfort food, and this cheese and potato version is the MVP of your next meal. Forget takeout—this is the stuff cravings are made of. And the best part?
You don’t need to be a Polish grandma to make them. Ready to level up your kitchen game? Let’s go.
Quick Recomendation: Our blog is full of useful information to inspire you. If you are seeking a healthy way to prepare your meals, we recommend this Keto product
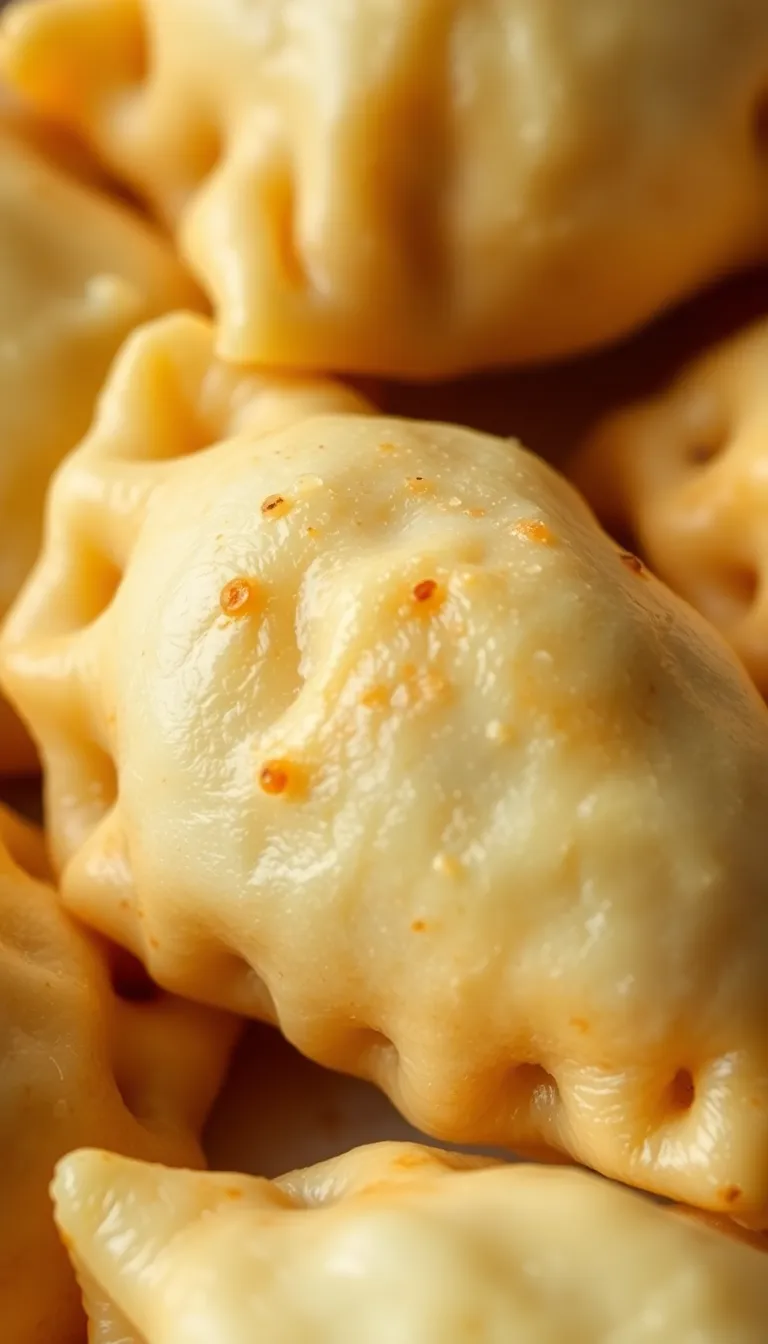
Why This Recipe Slaps
Cheese and potato pierogi are the culinary equivalent of a warm hug.
The dough is tender yet sturdy, the filling is rich but not overwhelming, and the frying step? Pure magic. These little dumplings are versatile—serve them with sour cream, fried onions, or even bacon bits.
They’re also freezer-friendly, meaning you can meal-prep like a boss. Plus, they’re cheaper (and tastier) than the store-bought stuff. Win-win.
Ingredients You’ll Need
- For the dough: 2 cups all-purpose flour, 1/2 tsp salt, 1 large egg, 1/2 cup sour cream, 1/4 cup water (adjust as needed).
- For the filling: 2 medium potatoes (peeled and boiled), 1 cup shredded cheddar cheese, 1/4 cup sour cream, 1/2 tsp salt, 1/4 tsp black pepper.
- For frying: 2 tbsp butter, 1 small onion (thinly sliced), sour cream for serving.
Step-by-Step Instructions

- Make the dough: Mix flour and salt, then add egg and sour cream.
Knead until smooth. Cover and rest for 30 minutes.
- Prep the filling: Mash the boiled potatoes with cheese, sour cream, salt, and pepper. Taste it—because why not?
- Assemble: Roll the dough thin (about 1/8 inch), cut circles (use a glass if you’re fancy), add a spoon of filling, fold, and seal the edges.
- Boil: Drop pierogi into salted boiling water.
They’re done when they float (about 3-4 minutes).
- Fry: Melt butter in a pan, add onions, then fry the boiled pierogi until golden. Serve with extra sour cream.
How to Store These Bad Boys
Cooked pierogi last 3-4 days in the fridge. For longer storage, freeze them before boiling—lay them on a tray to freeze individually, then transfer to a bag.
They’ll keep for 3 months. Reheat by frying or boiling straight from frozen. Pro tip: Don’t thaw them first, or they’ll turn into a sticky mess.
Why You Should Make This Recipe
Besides being delicious, pierogi are budget-friendly and use pantry staples.
They’re also customizable—swap fillings, add herbs, or go wild with toppings. They’re great for crowds, and kids love them (mostly because they’re basically fancy mashed potato pockets). Plus, making them from scratch feels like a flex.
Because it is.
Common Mistakes to Avoid
- Overfilling: Too much filling = burst pierogi. Stick to a teaspoon per dumpling.
- Thick dough: Roll it thin, or you’ll end up with doughy blobs.
- Skipping the fry: Boiled pierogi are good, but fried? Next-level.
- Not sealing properly: Wet the edges with water to avoid filling explosions.
Alternatives for the Adventurous

Not feeling cheese and potato?
Try these twists:
- Sweet version: Fill with farmer’s cheese and a sprinkle of sugar.
- Meat lovers: Ground pork or mushrooms work great.
- Vegan hack: Use plant-based cheese and skip the egg in the dough (add more water).
FAQs
Can I use store-bought dough?
Sure, if you’re into shortcuts. But homemade dough tastes better and takes 10 minutes. Your call.
Why do my pierogi stick together?
You didn’t flour the tray enough.
Or you overcrowded them. Give them space—they’re not clingy.
Can I bake pierogi instead of frying?
Technically yes, but you’ll miss out on that crispy goodness. IMO, it’s worth the butter.
How do I know when they’re done boiling?
They float.
It’s like magic, but edible.
Final Thoughts
Cheese and potato pierogi are the ultimate comfort food—simple, satisfying, and seriously tasty. Whether you’re feeding a crowd or meal-prepping for yourself, this recipe delivers. And hey, if you mess up the first time, just call them “rustic” and keep going.
Happy cooking!
Quick Recomendation: Our blog is full of useful information to inspire you. If you are seeking a healthy way to prepare your meals, we recommend this Keto product
Printable Recipe Card
Want just the essential recipe details without scrolling through the article? Get our printable recipe card with just the ingredients and instructions.